If you do not have a chart yet, the TwoInks chart calculator makes one from your birth date, time and place. No email is needed.
Step 1: Learn the two colors
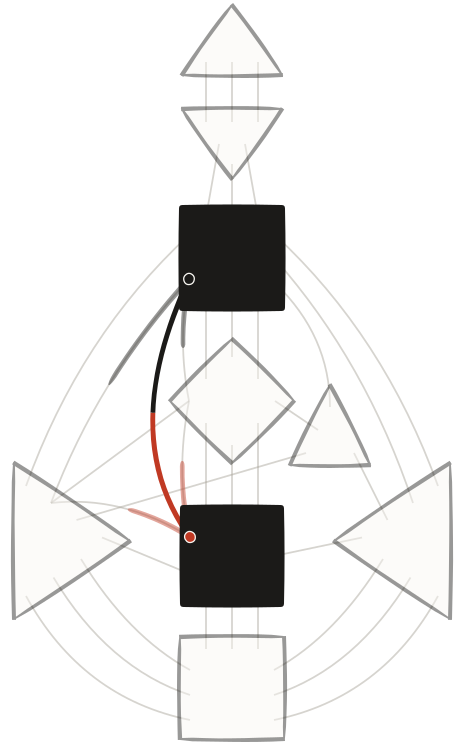
Every chart is built from two moments. The first is your birth. The second is the moment, roughly three months earlier, when the Sun stood 88 degrees behind the position it holds at your birth. The system calls the first Personality and the second Design.
On this chart, the two moments have two colors.
| Color | Stands for |
|---|---|
| Black | Personality, from the birth moment |
| Red | Design, from the design moment |
Alongside the figure you will see two columns of small numbers in these colors. A gate that appears in both colors is active at both moments.
In Human Design, Personality is said to be the part of you that you recognize, and Design the part that works under the surface. You do not need to believe that to read the chart. The colors are bookkeeping that tells you which moment each activation comes from.
Step 2: Find the nine centers
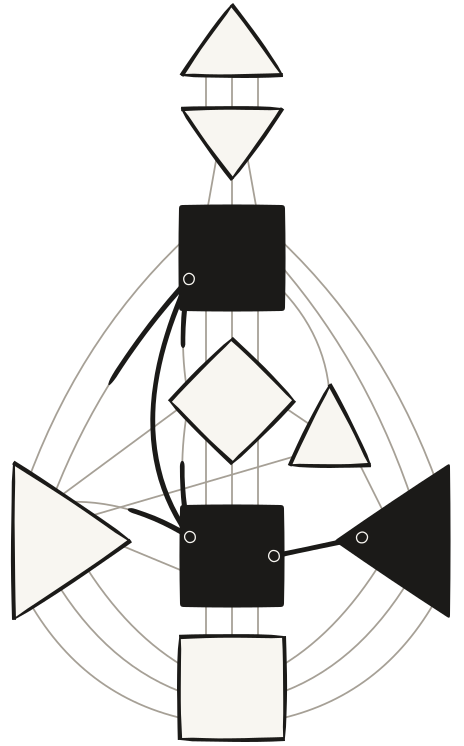
The figure is made of nine shapes called centers. Each is either defined (colored in) or open (pale). The reason to look at them first is that the rest of the chart is built from them.
A defined center is described as a consistent source: it works the same way in you across time and place. An open center is not broken. The system says it is a place where you take in and amplify what is around you, and where you may learn the most from other people. Having many open centers is not worse than having few.
Try thisTurn each pale center into a question. If the solar plexus is open, ask whose moods you absorb. If the root is open, ask whose deadlines you have been treating as your own.
The question does not need a clean answer. It points your attention at where you may be borrowing someone else's pattern.
Step 3: Follow the channels
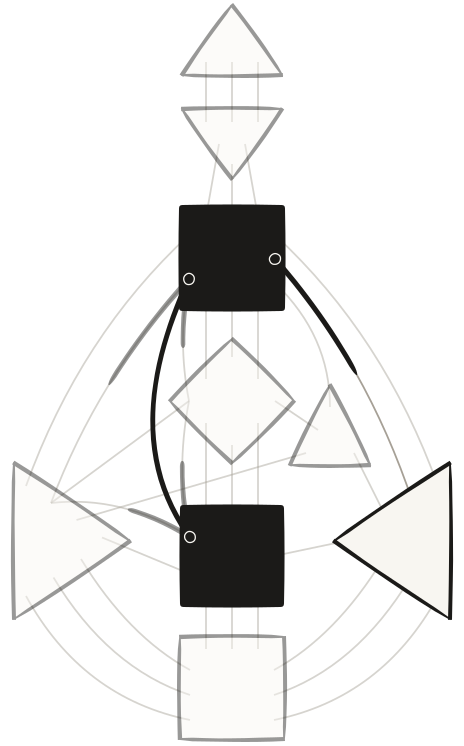
Centers are joined by 36 channels. A channel is a pair of gates, such as 20 and 34, that sit at either end of a line between two centers. If both gates are active, whether in black, red or one of each, the channel is complete and is drawn as a solid line. Both of its centers become defined.
If only one gate of a pair is active, the line is partial. The system calls this a hanging gate. It does not define a center. It does show that you have an urge in that direction, which may be completed when you spend time near someone who holds the other gate.
A useful habit is to count the solid lines. Zero solid lines means a Reflector. Many solid lines usually mean many defined centers and a more fixed chart.
Step 4: Work out the type
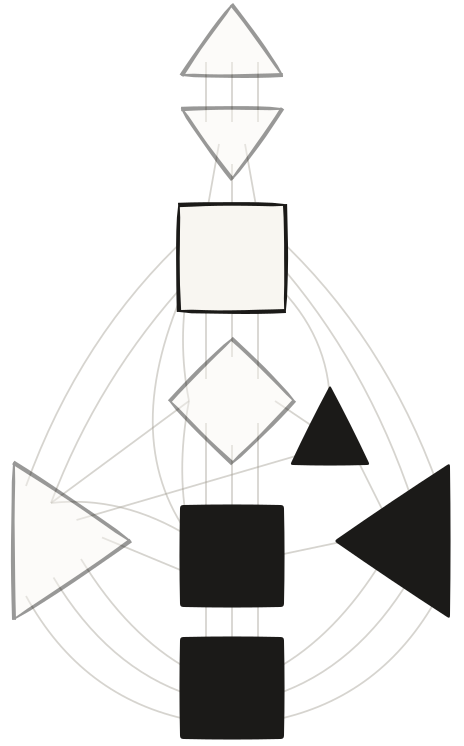
The type comes from two questions about the centers. Is the sacral defined? And is any motor (sacral, heart, solar plexus or root) joined to the throat through an unbroken chain of solid lines?
| Type | Sacral | Motor to throat |
|---|---|---|
| Generator | Defined | No |
| Manifesting Generator | Defined | Yes |
| Manifestor | Open | Yes |
| Projector | Open | No, some center defined |
| Reflector | Open | No, no center defined |
Each type has a strategy, such as respond or wait for the invitation. Those are the first practical instructions the system gives.
Step 5: Find the authority
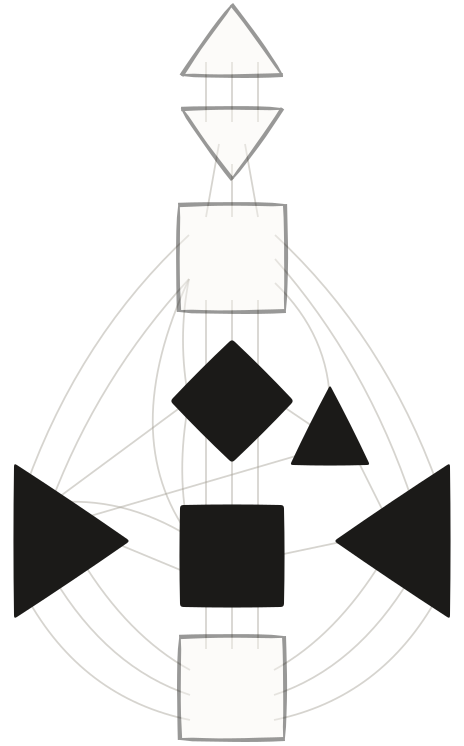
Authority is the part of the chart that the system says you should use to make decisions. It is chosen by a ranking. Go down the list and stop at the first center that is defined:
- Solar plexus: emotional.
- Sacral: sacral.
- Spleen: splenic.
- Heart: ego.
- G center joined to the throat: self-projected.
- Only head, ajna or throat: mental.
- No defined center: lunar.
Types and authorities are linked but not the same. Two Generators can have different authorities, and the authority decides how the Generator's strategy is applied.
Step 6: Read the profile
- 6 Role Model
- 5 Heretic
- 4 Opportunist
- 3 Experimenter
- 2 Hermit
- 1 Investigator
The profile is two numbers, like 3/5. They come from the line of the Sun's gate at the birth moment (first number) and at the design moment (second number). Each number runs from 1 to 6, and the system describes six roles: Investigator, Hermit, Martyr, Opportunist, Heretic and Role Model.
Only twelve combinations occur. They are 1/3, 1/4, 2/4, 2/5, 3/5, 3/6, 4/6, 4/1, 5/1, 5/2, 6/2 and 6/3. If a profile you read about online is not on that list, it is not a real Human Design profile.
Step 7: Check the definition
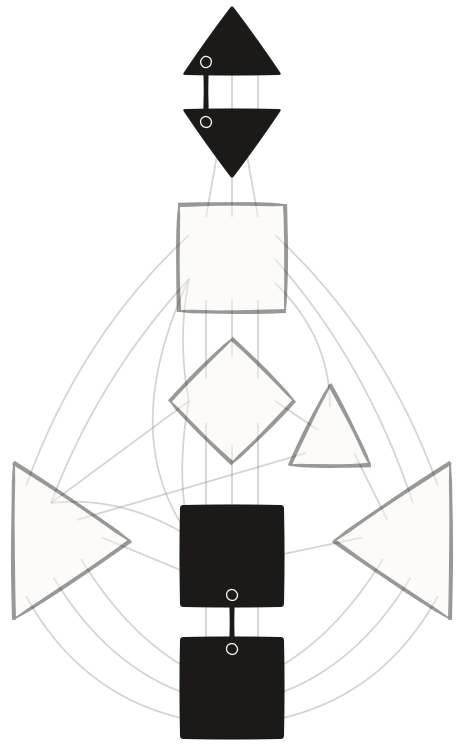
Definition describes how your defined centers connect. Count the separate groups of joined centers:
| Separate groups | Definition |
|---|---|
| One | Single definition |
| Two | Split definition |
| Three | Triple split |
| Four | Quadruple split |
| None | No definition, only in a Reflector chart |
The system says people with a split are drawn to others who can bridge the gap, and that people with a single definition are more self-contained. Treat this as one more claim to test against your own experience.
A worked example
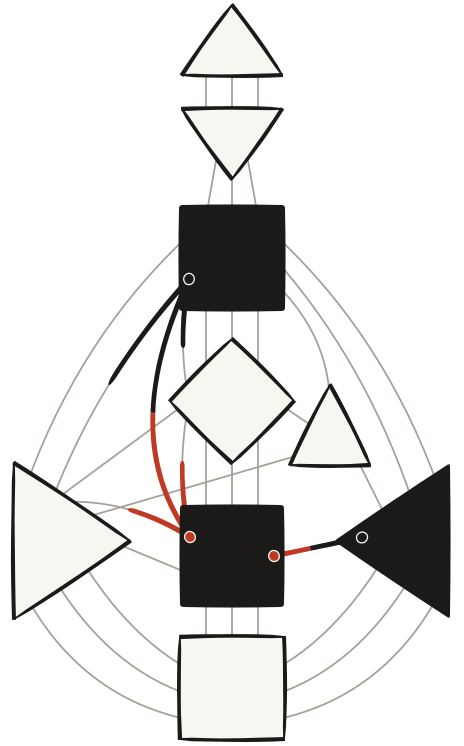
Imagine a chart where the throat, sacral and solar plexus are colored in, and the other six centers are pale. The solid lines are 20-34, which joins throat and sacral, and 6-59, which joins sacral and solar plexus.
See the reading
- Type: Manifesting Generator. The sacral is defined and it is joined directly to the throat.
- Authority: emotional. The solar plexus is defined and ranks first.
- Definition: single. The three defined centers form one connected group.
- Open centers. Head, ajna, G, heart, spleen and root.
A profile would be added from the Sun lines. The reading takes about a minute, and it leaves out gates altogether.
The incarnation cross
The three angles
- Right angleA personal path. Profiles from 1/3 to 4/6.
- JuxtapositionA fixed path. The 4/1 only.
- Left angleA path aimed at other people. Profiles 5/1, 5/2, 6/2 and 6/3.
Your chart also lists an incarnation cross, which is made from the Sun and Earth gates at both moments. It is a deeper layer, and you can ignore it while learning the basics.
Read more
The cross has one of three angles, right, left or juxtaposition, and the angle follows from the profile. The calculator shows the cross.
Mistakes beginners make
See the five mistakes
- Reading gates first. Individual gates are the finest detail in the chart, and they only make sense once you know the type and the centers.
- Treating open centers as weaknesses. The system presents them as areas of sensitivity and learning, not as deficits.
- Mixing up type and authority. Type tells you the strategy, and authority tells you how to decide inside it.
- Overreading the profile. It is not a full personality summary. It describes two roles, not a whole person.
- Entering a guessed birth time. If you are unsure, try a few times within the possible range and see which parts of the chart change. Type, authority and the open or defined status of centers are the parts to watch.
What the chart can and cannot do
How it is calculated
Which part is astronomy, how close it is, and which part is only Human Design.
A sensible way to use the chart is as a set of questions about your own habits.
Read more
The testPick one idea, such as your strategy, try it for a few weeks, and see whether it changes anything you can observe.
The positions in a chart are calculated from astronomy, and that part is precise. The meanings attached to them are Human Design's own, and there is no scientific evidence behind them. A small error in birth time can change a chart, particularly the Moon's position, so be sure of the time you enter. The method page explains the calculation and the limits in more detail.
Updated